
Why ServiceBox Introduced Advanced Unit Import and Export
Previously, ServiceBox allowed unit imports using a spreadsheet, but only at the individual job site level, a time-consuming process for customers with large data sets. To streamline this, the Advanced Unit Import and Export feature was developed, allowing users to upload or export all units in bulk, across jobs and customers.
Using the Advanced Unit Import and Export Feature
Step 1: Generate the File
-
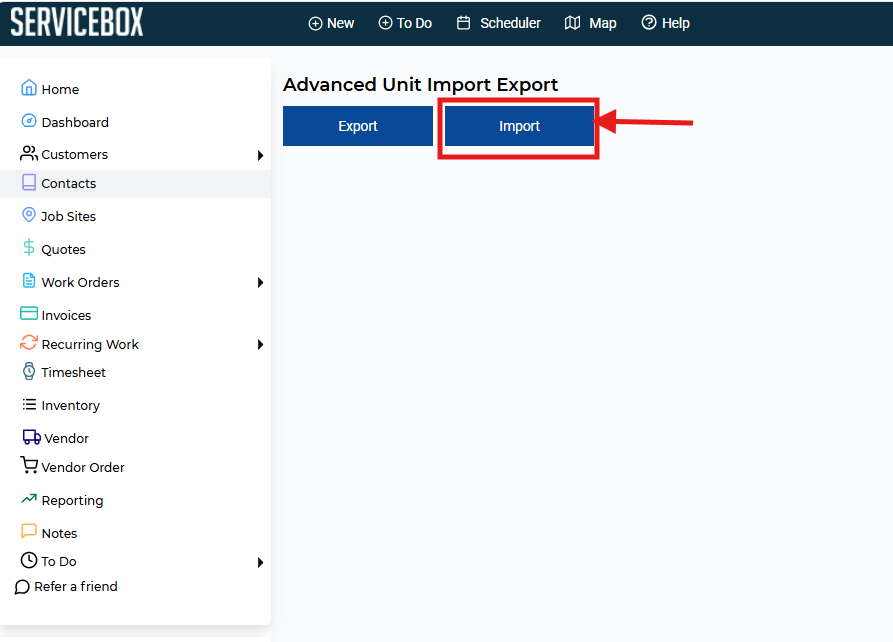
Navigate to Advanced Unit Import Export in ServiceBox.

- Click the Export button to download an Excel spreadsheet.

-
New Customers: The spreadsheet will be blank.
-
Existing Customers: Your current unit data will be pre-populated.
Step 2: Update the Spreadsheet
-
Open the exported file and click Enable Editing to make changes.

The spreadsheet contains columns for:
-
ID (auto-generated by ServiceBox – do not edit this)
-
Job Site Display Name
-
Customer Display Name
-
Unit Name
-
Description
-
Location
Optional columns may include: -
Contract Type
-
Contract Amount
✅ Mandatory fields: Job Site Display Name, Customer Display Name, and Unit Name

Step 3: Find the Required Display Names
To ensure your import succeeds, the Customer Display Name and Job Site Display Name in the spreadsheet must exactly match what’s set up in ServiceBox.
To find the Customer Display Name:
- Open the customer record in ServiceBox
- Click the Edit button

- Copy the Customer Display Name from this screen and paste it into your spreadsheet

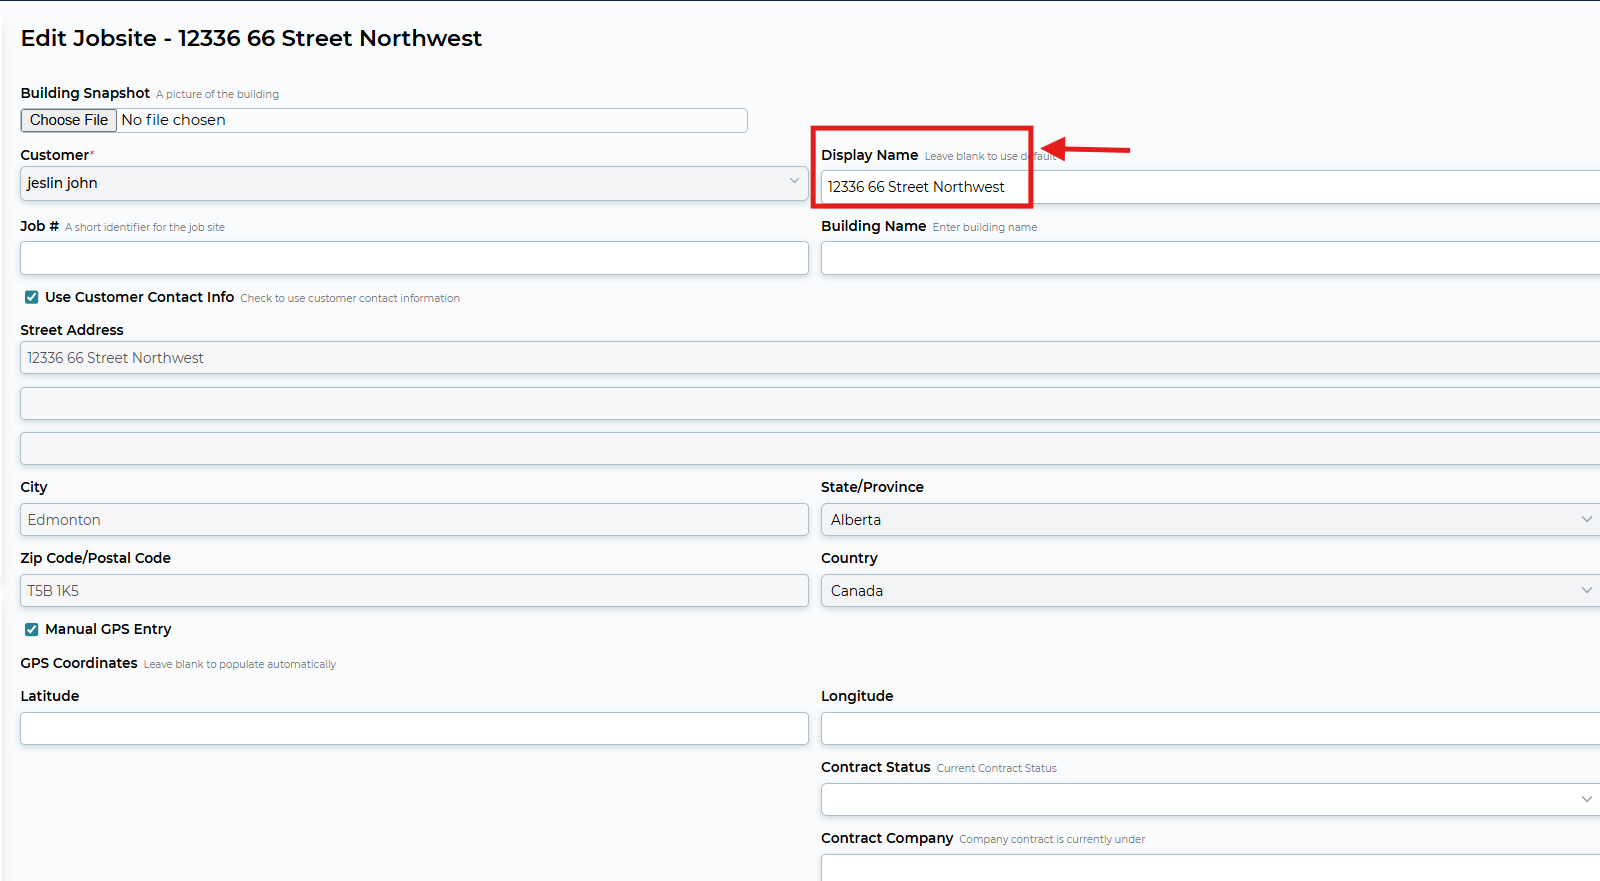
To find the Job Site Display Name:
-
Go to the Job Site tab

- Open the Job Site and click Edit and Copy the Job Site Display Name from this screen and paste it into your spreadsheet.
4. Add Unit Information
-
Fill in the Unit Name field.
-
Add other optional fields like description, location, or contract details as needed
5. Save & Import the File
-
Save the file in the same format it was exported in.
-
Return to Advanced Unit Import Export in ServiceBox.
- Click the Import button, choose your file, and upload it.
ServiceBox will:
-
Process the import
-
Email you confirmation or list any errors
-
Display newly imported units in the relevant Job Sites
Need Help?
If you have any questions or need support, please click the Help button in your ServiceBox account or email us at support@getservicebox.com.