
If you are providing a support ticket to support and you need to take a snap shot of what you see on the screen you can take a screen shot and attach the image to the feedback area or send the screen shot in an email to support@jobboxsoft.com.
Here are the solutions for both Windows and Mac computers.
So here is how you can do screen shots on both systems:
Windows
How to take a screen shot of your entire screen
- Hit the PrtScn button, they could paste (ctrl + v) that in an email or modify in paint
How to take a screen shot of a Single Window
- Alt + PrtnScrn, then can paste (ctrl + v) that in an email or modify in paint
- An alternate Method is to press the Windows Key, Shift, and the letter S
- You can then select the whole window or a portion of the window by left clicking on the screen, holding and dragging to outline what you want to copy.
Here is an external reference:
https://www.digitalcitizen.life/4-ways-take-screenshots-windows-8-81-using-built-tools
Mac
How to take a screenshot of your entire screen
- Press Shift-Command (⌘)-3.
- Find the screenshot as a .png file on your desktop.
How to take a screenshot of a selected portion of your screen
- Press Shift-Command-4. The pointer changes to a crosshair.
- Move the crosshair to where you want to start the screenshot, then drag to select an area.
While dragging, you can hold Shift, Option, or Space bar to change the way the selection moves.
- When you've selected the area you want, release your mouse or trackpad button. To cancel, press the Esc (Escape) key before you release the button.
- Find the screenshot as a .png file on your desktop.
How to take a screenshot of a window
- Press Shift-Command-4. The pointer changes to a crosshair.
- Press the Space bar. The pointer changes to a camera.
- Move the camera over a window to highlight it.
- Click your mouse or trackpad. To cancel, press the Esc (Escape) key before you click.
- Find the screenshot as a .png file on your desktop.
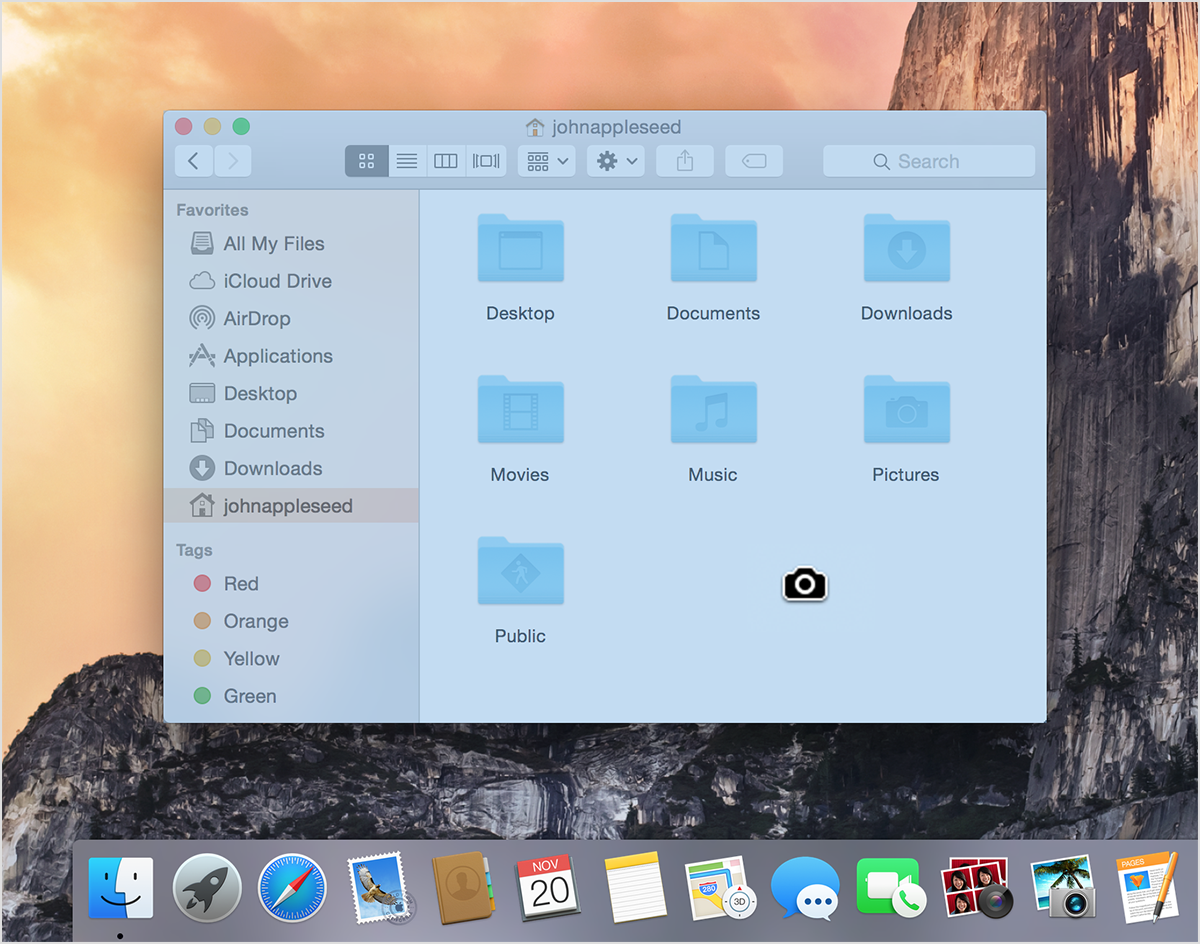
This works with windows in the Finder and most apps.
External Resource:
https://support.apple.com/en-ca/HT201361
Need Help?
Contact support by clicking the Help button in the bottom-right corner of your screen when logged in or email us at support@jobboxsoft.com.