
Introduction:
Managing inventory accurately is crucial for any business. ServiceBox provides a user-friendly feature for importing and exporting inventory data, making it easier to organize and track items. This step-by-step guide walks you through how to import inventory items into ServiceBox using a structured Excel spreadsheet.
Accessing the Inventory Section:
Navigate to the Inventory section via the main menu on the left-hand side of the ServiceBox interface.

Exporting Inventory Data
-
Click the EXPORT TO EXCEL button at the bottom of the screen.
-
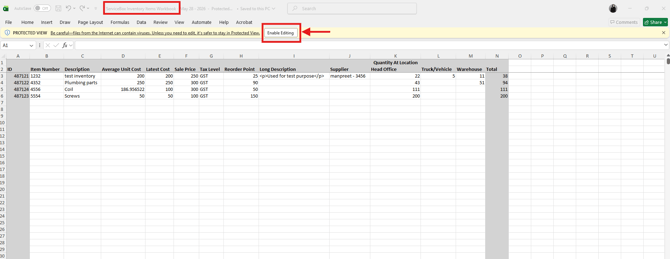
This will generate an Excel template titled ServiceBox Inventory Item Workbook.
-
If the file opens in Protected View, click Enable Editing to proceed
Formatting the Spreadsheet
-
Use the exported spreadsheet as your template.
-
If you’re using another source (like your accounting software), paste that original data into a second tab to preserve it.
-
Rearrange the columns in the second tab to match columns B through H in the ServiceBox template.
-
If needed, add columns in your source sheet to match the ServiceBox structure.
-
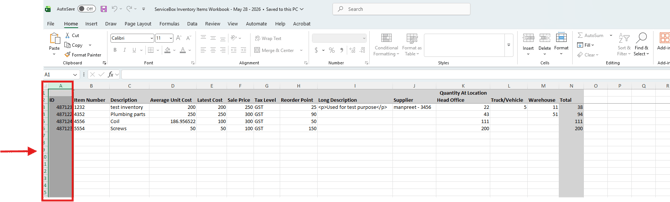
Do not copy or enter data into Column A — ServiceBox will automatically generate IDs here.
-
Copying and Pasting Data
-
Select the data range from your source tab (excluding headers).
-
Right-click and Copy.
-
Return to the ServiceBox spreadsheet and paste under the corresponding columns (starting with Column B).
-
Press Enter to confirm the pasted content.
Assigning Item Numbers
-
If your source sheet lacks item numbers (Column B), assign them manually using a consistent numbering system (e.g., 1001, 1002, etc.).
Optional Columns to Include
-
Column I – Long Description: If available, include for more detailed item descriptions.
-
Column J – Quantity at Location Head Office: Include if tracking quantity on hand.
If your ServiceBox account uses multiple inventory locations, ensure your spreadsheet includes additional columns to match the export template exactly.
Verifying Data Integrity
Before importing:
-
Ensure every item has both an Item Number and Description.
-
Add or delete rows as needed to clean up your data.
-
Save and close the spreadsheet once complete.
Importing Data into ServiceBox
-
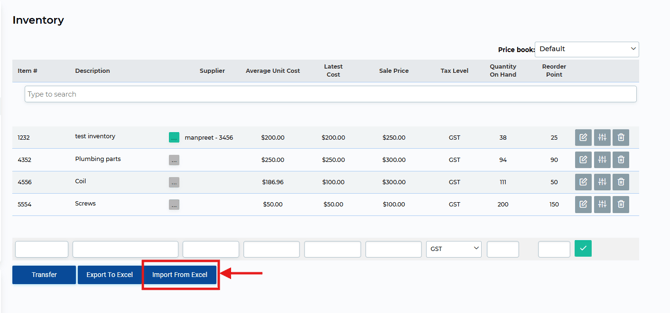
In the Inventory section, click Import from Excel at the bottom of the screen.
-
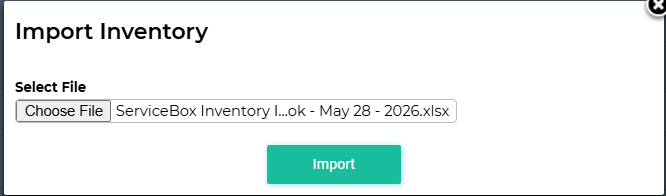
Select the saved Excel file and click Import.
-
The upload time varies — large imports (1,000–2,000 items) may take up to 10–15 minutes.
Managing Inventory Items
After importing, you can:
-
View and edit your inventory list
-
Adjust reorder points
-
Transfer items between locations
-
Track allocations
Further Inventory Management Tasks
For ongoing inventory management, you can:
-
Add, edit, or delete items
-
Generate a new “ServiceBox Inventory Workbook” export for future updates
For more detailed instructions, refer to the Inventory User Guide provided by ServiceBox.
Need Help?
If you have any questions or need support, please click the Help button in your ServiceBox account or email us at support@getservicebox.com.