
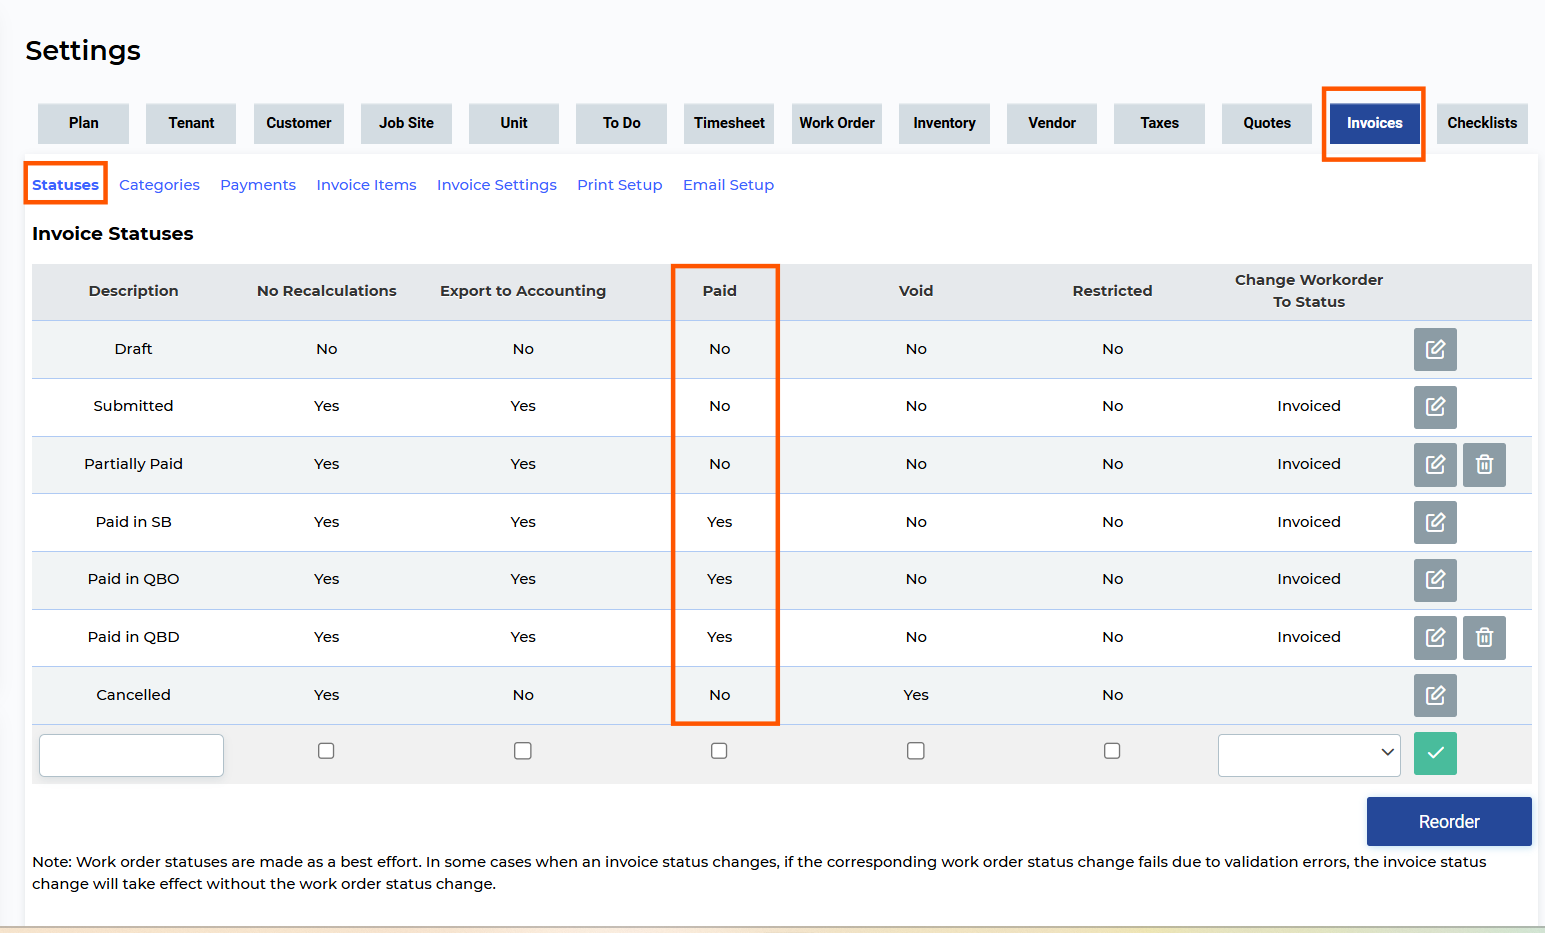
Before learning how to sync invoices, let's make sure our settings within the service box are correct. So go to your Settings tab > Invoices > Statuses.
Statuses - This displays a list of statuses for your invoice category; each status is configured according to the settings on this page. Each invoice is synced over to QuickBooks Online based on the status.
If the invoice is in 'Submitted' or 'PAID' status, it will sync over to your QuickBooks Online because on this page it has been set to 'YES' under 'Export to Accounting'. However, invoices in 'Draft' and 'Cancelled' status will not be synced because they have been set to 'NO' under 'Export to Accounting' on this page.
Same is for PAID- software will mark the invoice as PAID once the payment is received either in QuickBooks Online or in Service Box. We recommend setting Paid to Yes for at least one status.
Now, when you have set your settings for invoice status within ServiceBox, the next step would be to perform the sync.
Invoice sync without payment: Let's say you have an invoice within ServiceBox without payment, and you would like to sync it to QuickBooks Online. First, check that your invoice is in the right status.

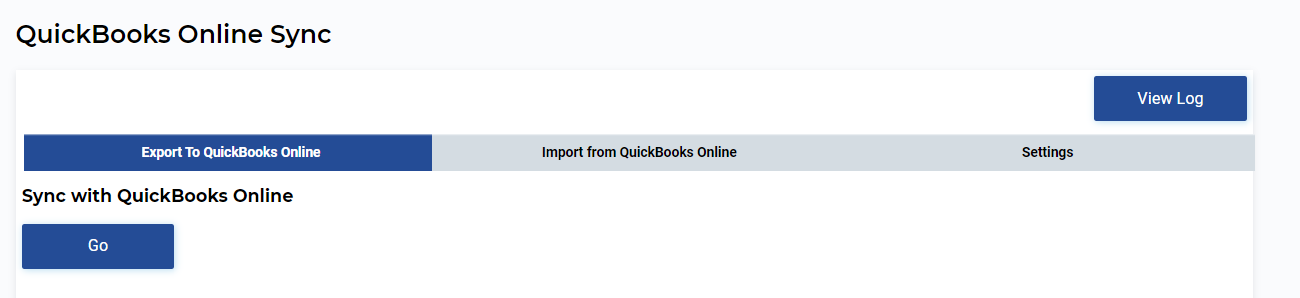
Then go to your login name in the top right corner > click on the drop-down menu > navigate to QuickBooks Online and click on 'GO'
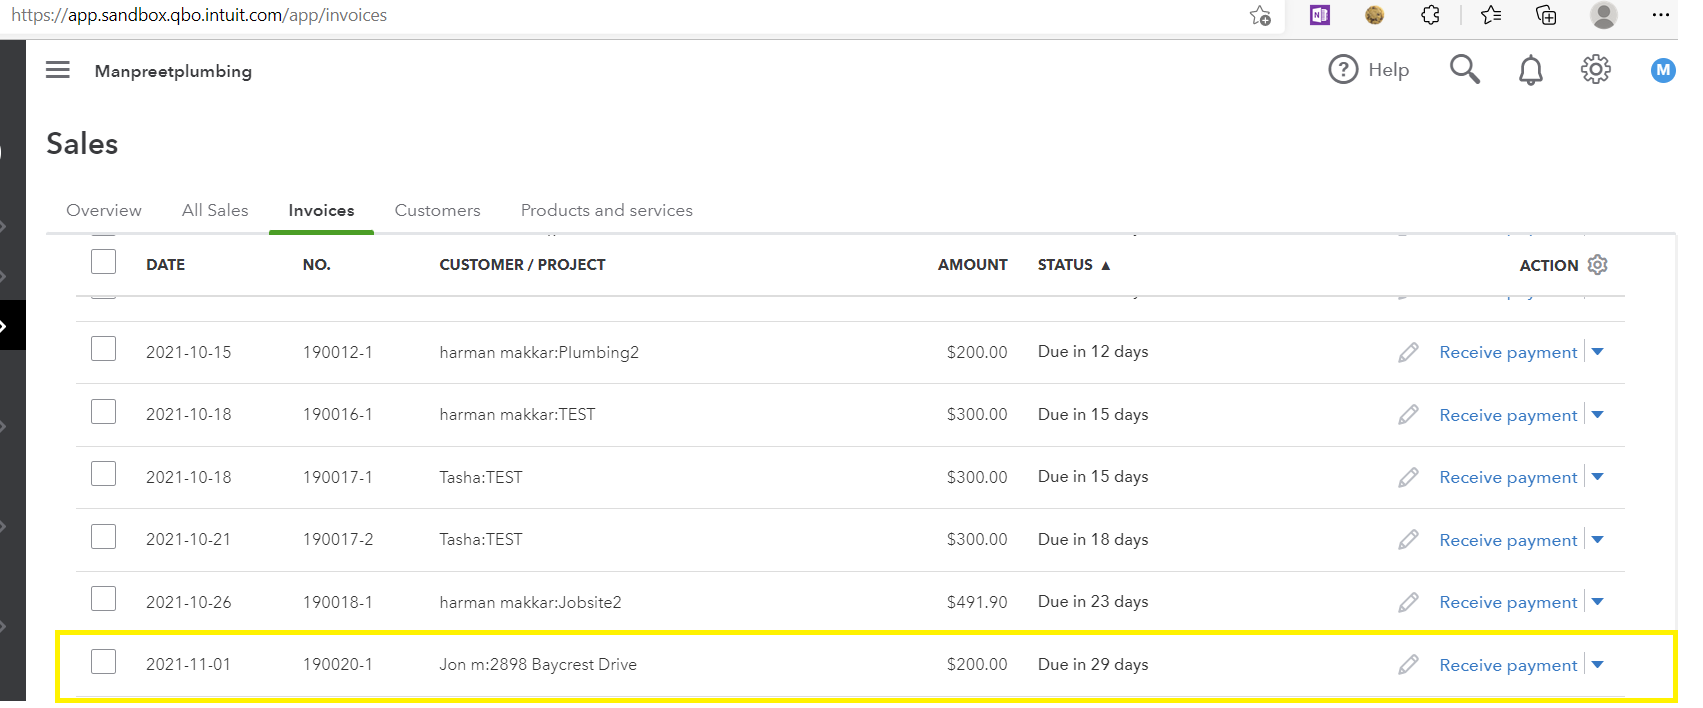
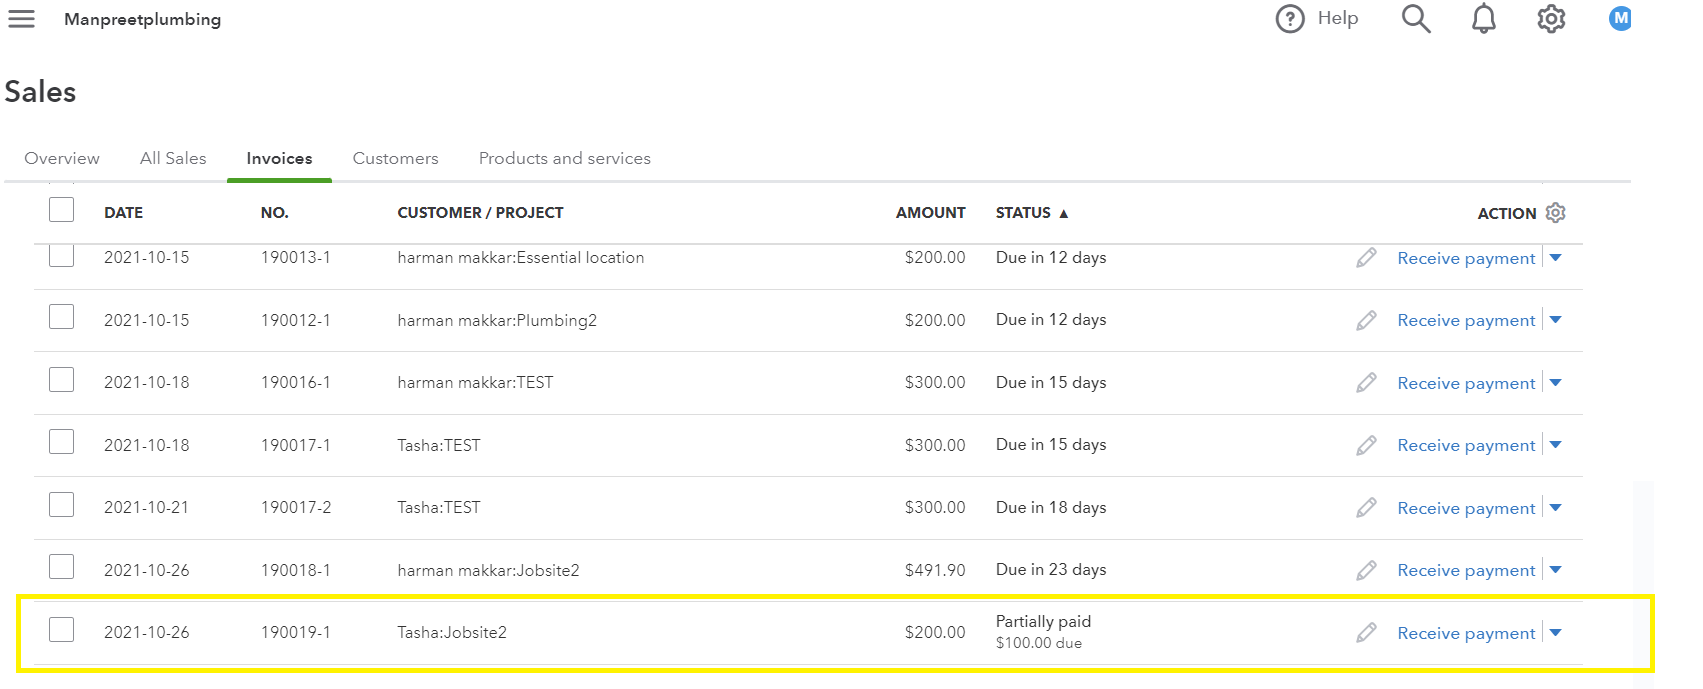
Look for that invoice in your QuickBooks Online, and you will see that it will indicate that the payment has not yet been received.
Once the payment is received in your QuickBooks Online, run the sync again, and the software will auto-mark that invoice status as "PAID"
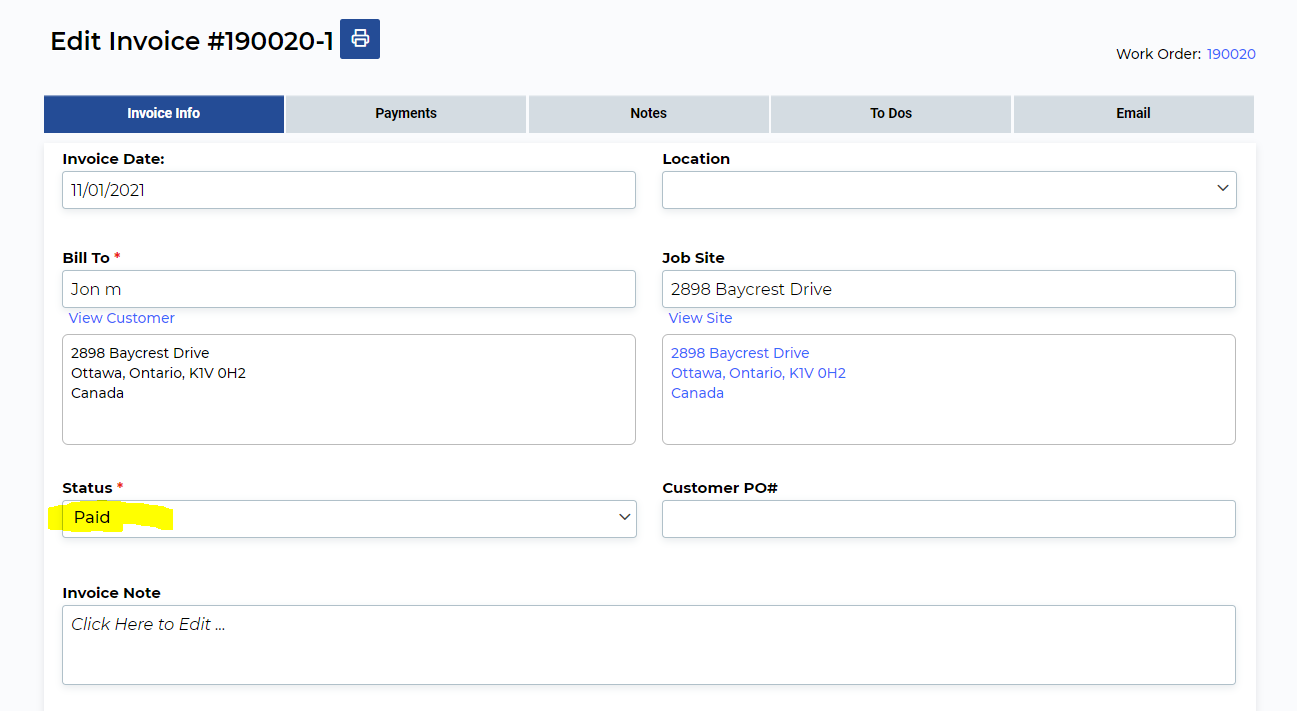
Invoice Sync with Payment: Let's say the payment has been received within ServiceBox for an invoice, and we have to sync that invoice over to QuickBooks Online.
Let's check that the invoice is in the right status, i.e. ' PAID'
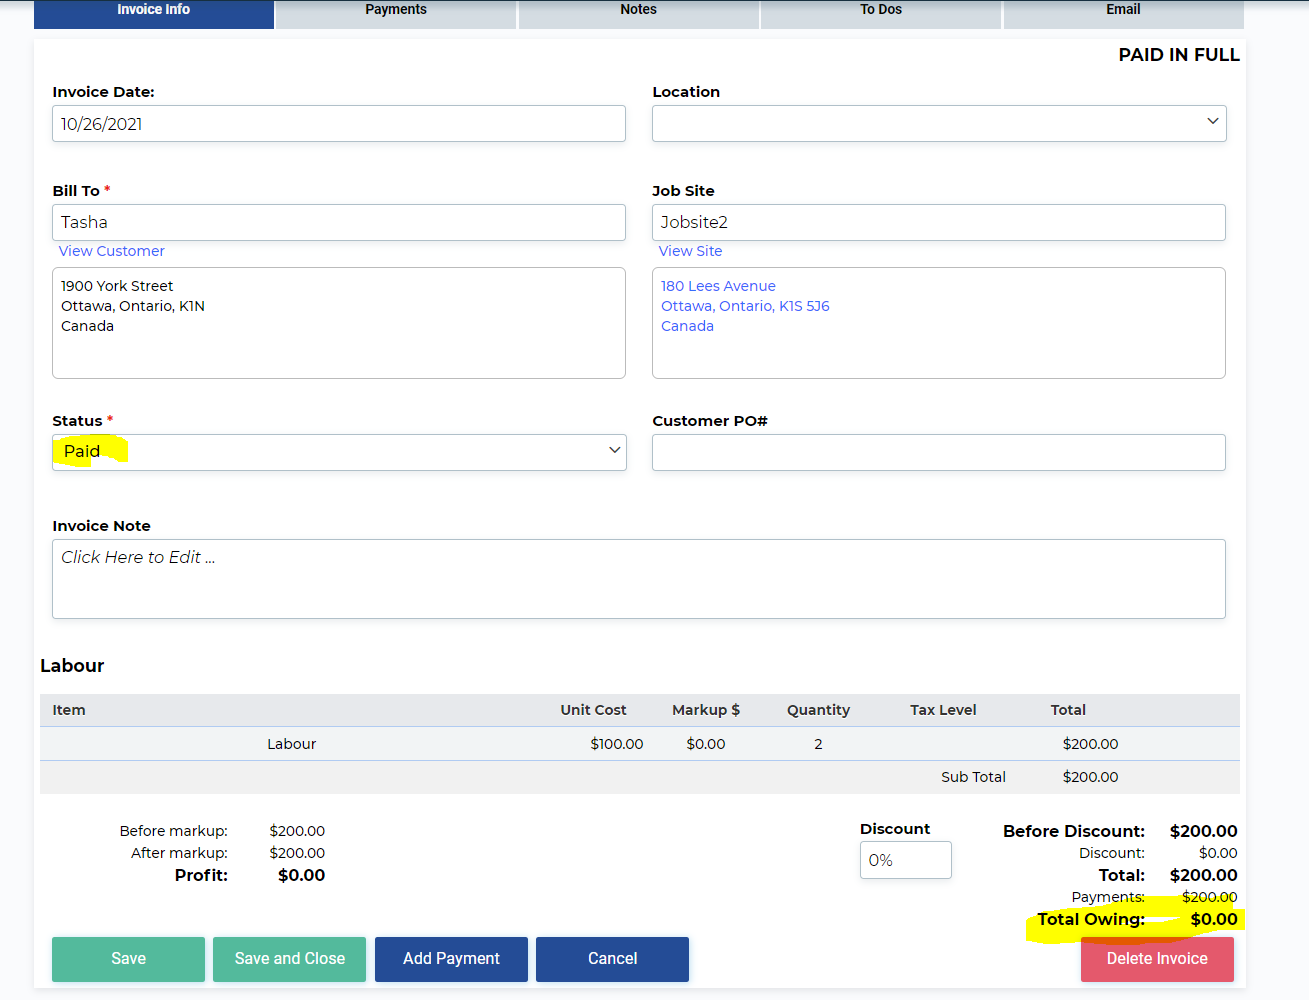
Then go to your login name in the top right corner > click on the drop-down menu > navigate to QuickBooks Online and click on 'GO'
Look for that invoice in your QuickBooks Online, and you will see that it will indicate that the payment has been received.
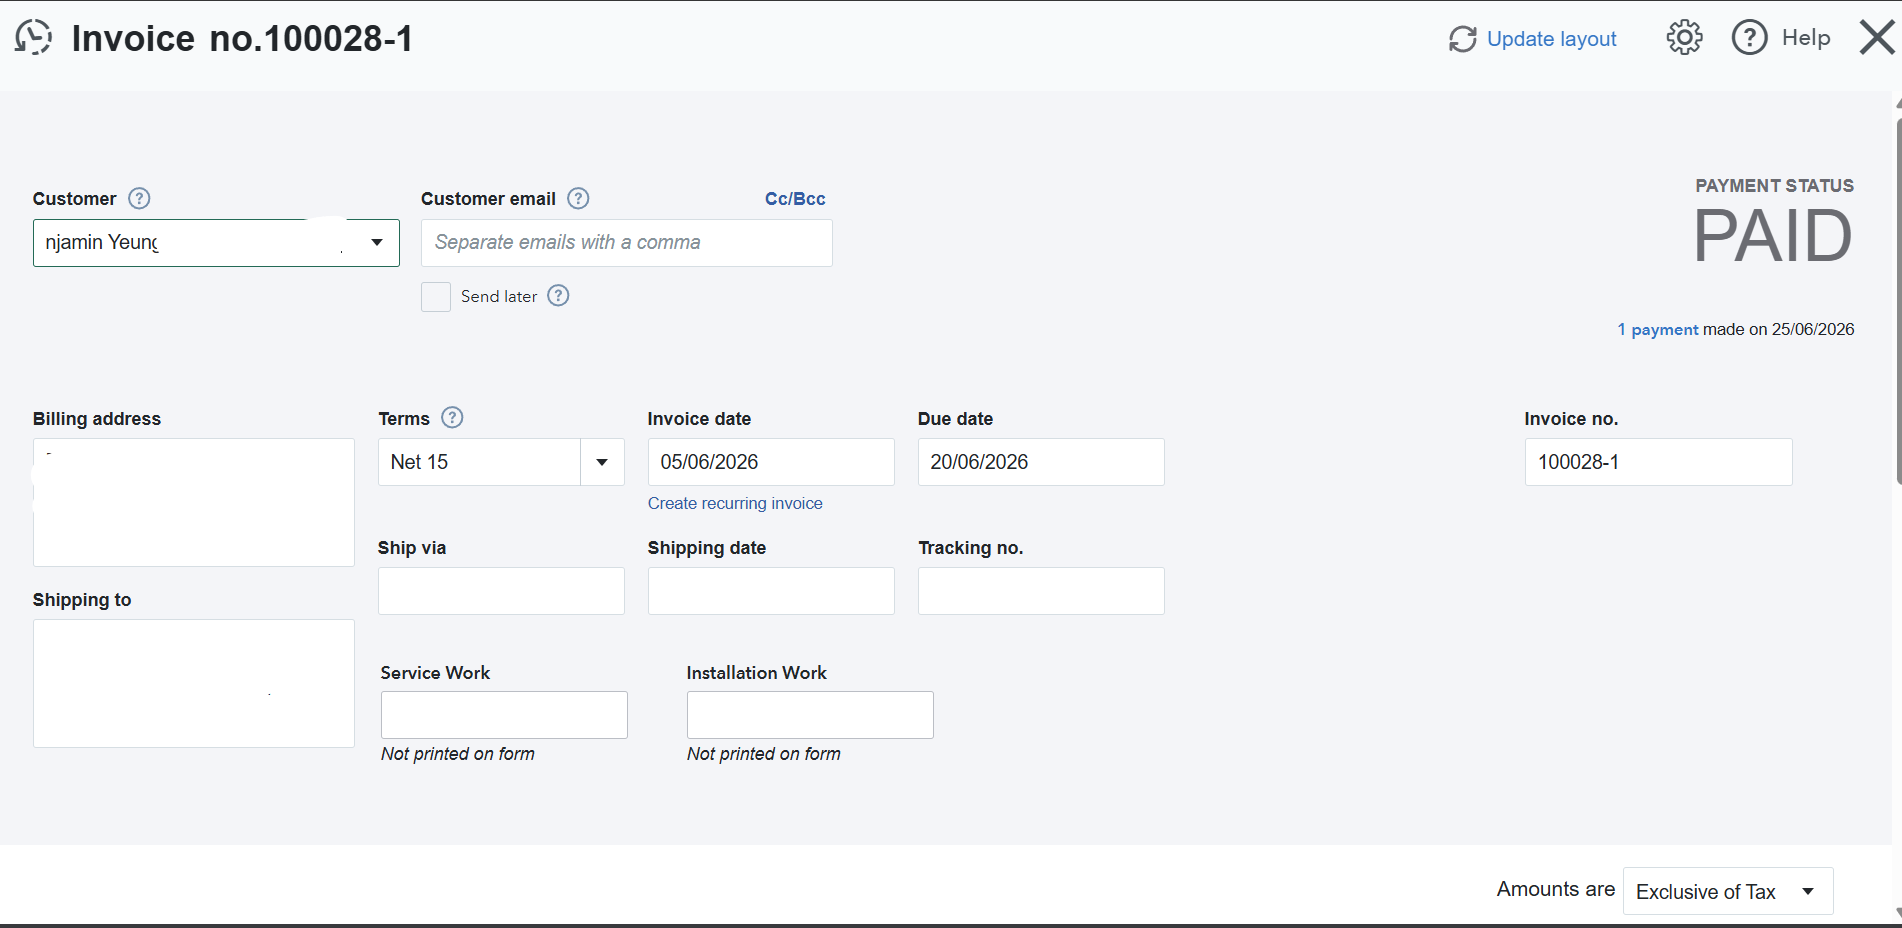
Invoice sync with Refund: If the payment is received within ServiceBox, you can give a refund within the invoice and reflect that change in QuickBooks Online as well.
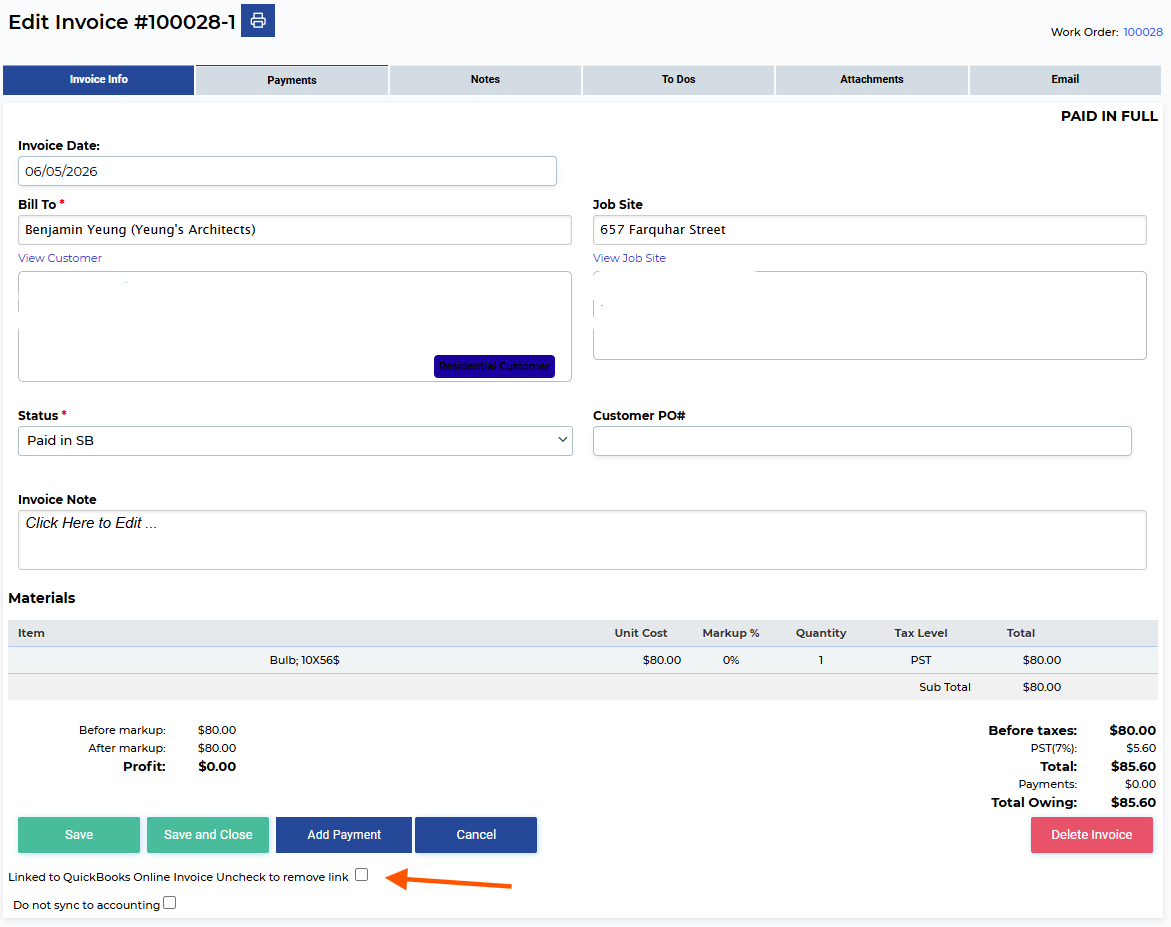
- Edit the invoice on which you want to add the refund amount ( unlink it if that invoice has already been linked with QuickBooks Online)
- Go to the payments tab on the invoice > edit the payment line item and add the refund amount and click ok.
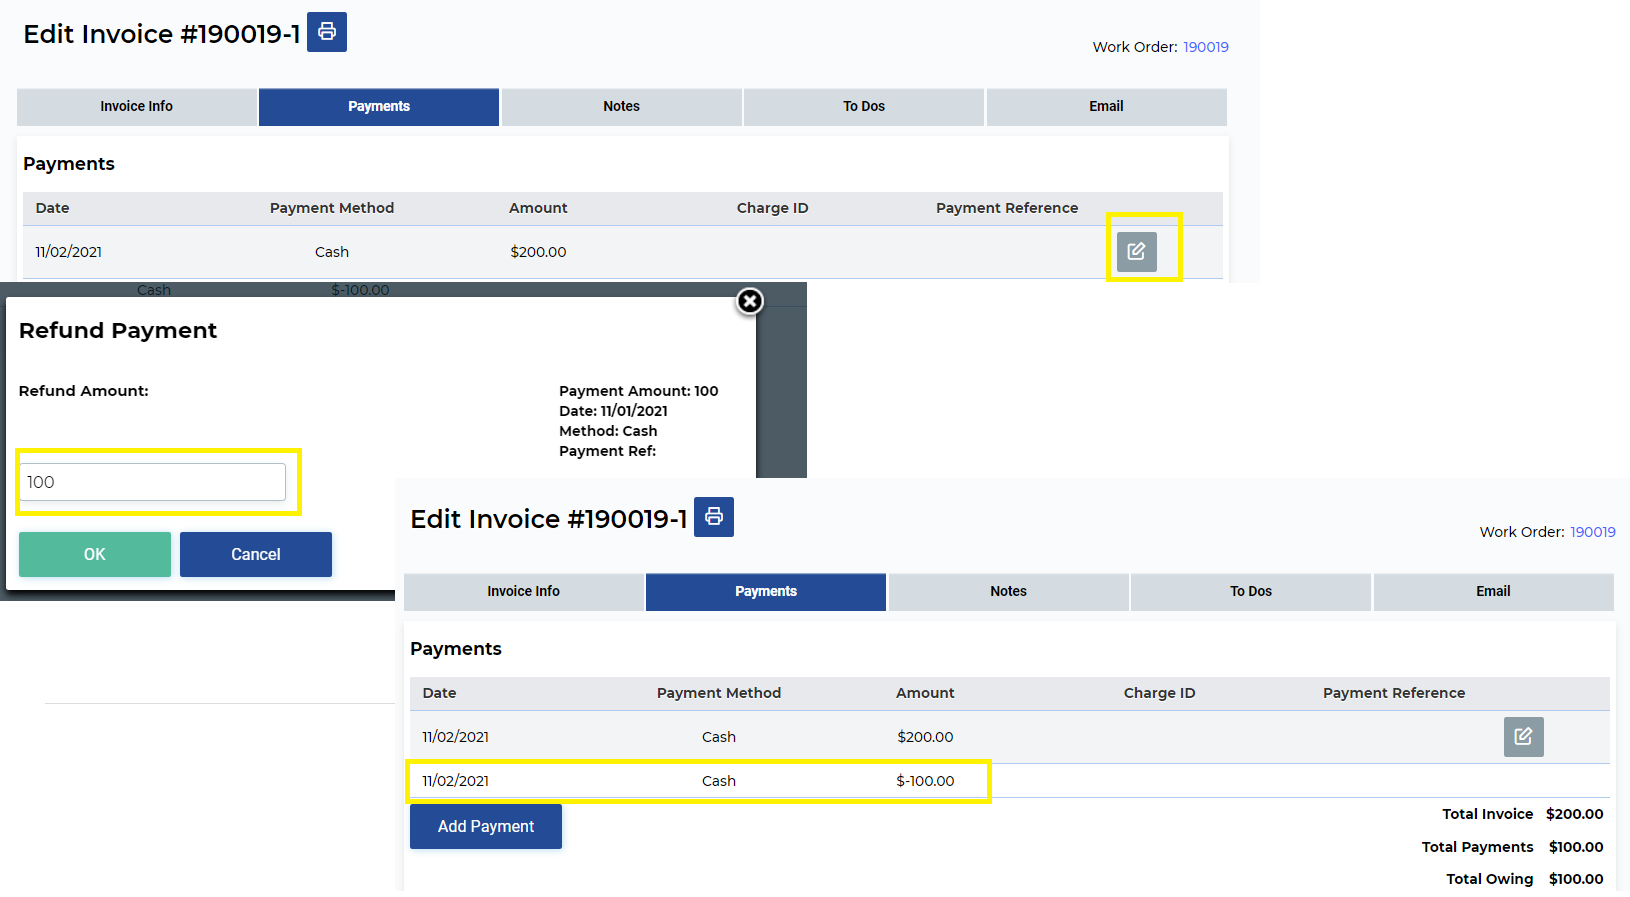
- Run the sync again and look for that invoice in your QuickBooks Online; it will indicate the refund amount.
If the payment has not been received within ServiceBox, then you would have to manually make those changes on both ends.
Need Help?
If you have any questions or need support, please click the Help button in your ServiceBox account or email us at support@getservicebox.com.